How to get the most out of your new headshots
Your gallery arrives. You scroll through it twice, send your favourite to a friend, and download the lot into a folder called Headshots Final.
Six months later, your LinkedIn photo is still the one from the wedding.
I see this more often than I'd like. The session is the easy part. Getting the photos out of the folder and in front of people is where the value is, and it takes about an hour if you do it properly. Here are the five things I'd do.
1. Update everything on the same day
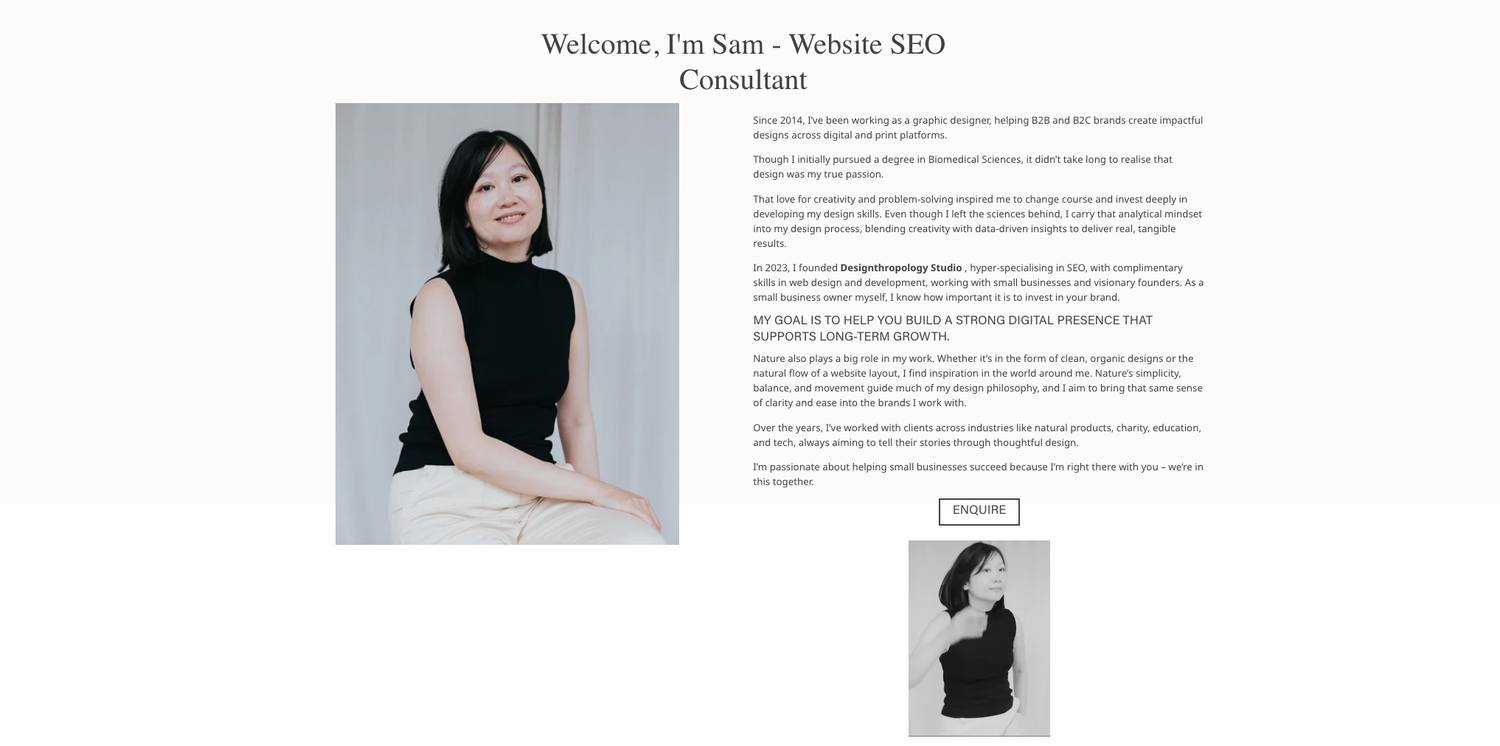
Pick a morning and change the lot in one go. If you update LinkedIn this week and your website next month, you spend the time in between looking like two different people.
Start with the places a new client is most likely to find you:
- Your LinkedIn profile
- The about page and home page of your website
- Your email signature
- Your Google Business Profile
- Your Instagram and Facebook profile pictures
Then do the ones people forget. Speaker bios. Directory listings. Your booking page. Your proposal template. That guest expert page on someone else's website, where you are still wearing a lanyard.
Someone who finds you on LinkedIn and clicks through to your website should see the same person both times. It sounds obvious, and it is surprisingly rare.
2. Don't make one photo do every job
You have a whole gallery, so use it.
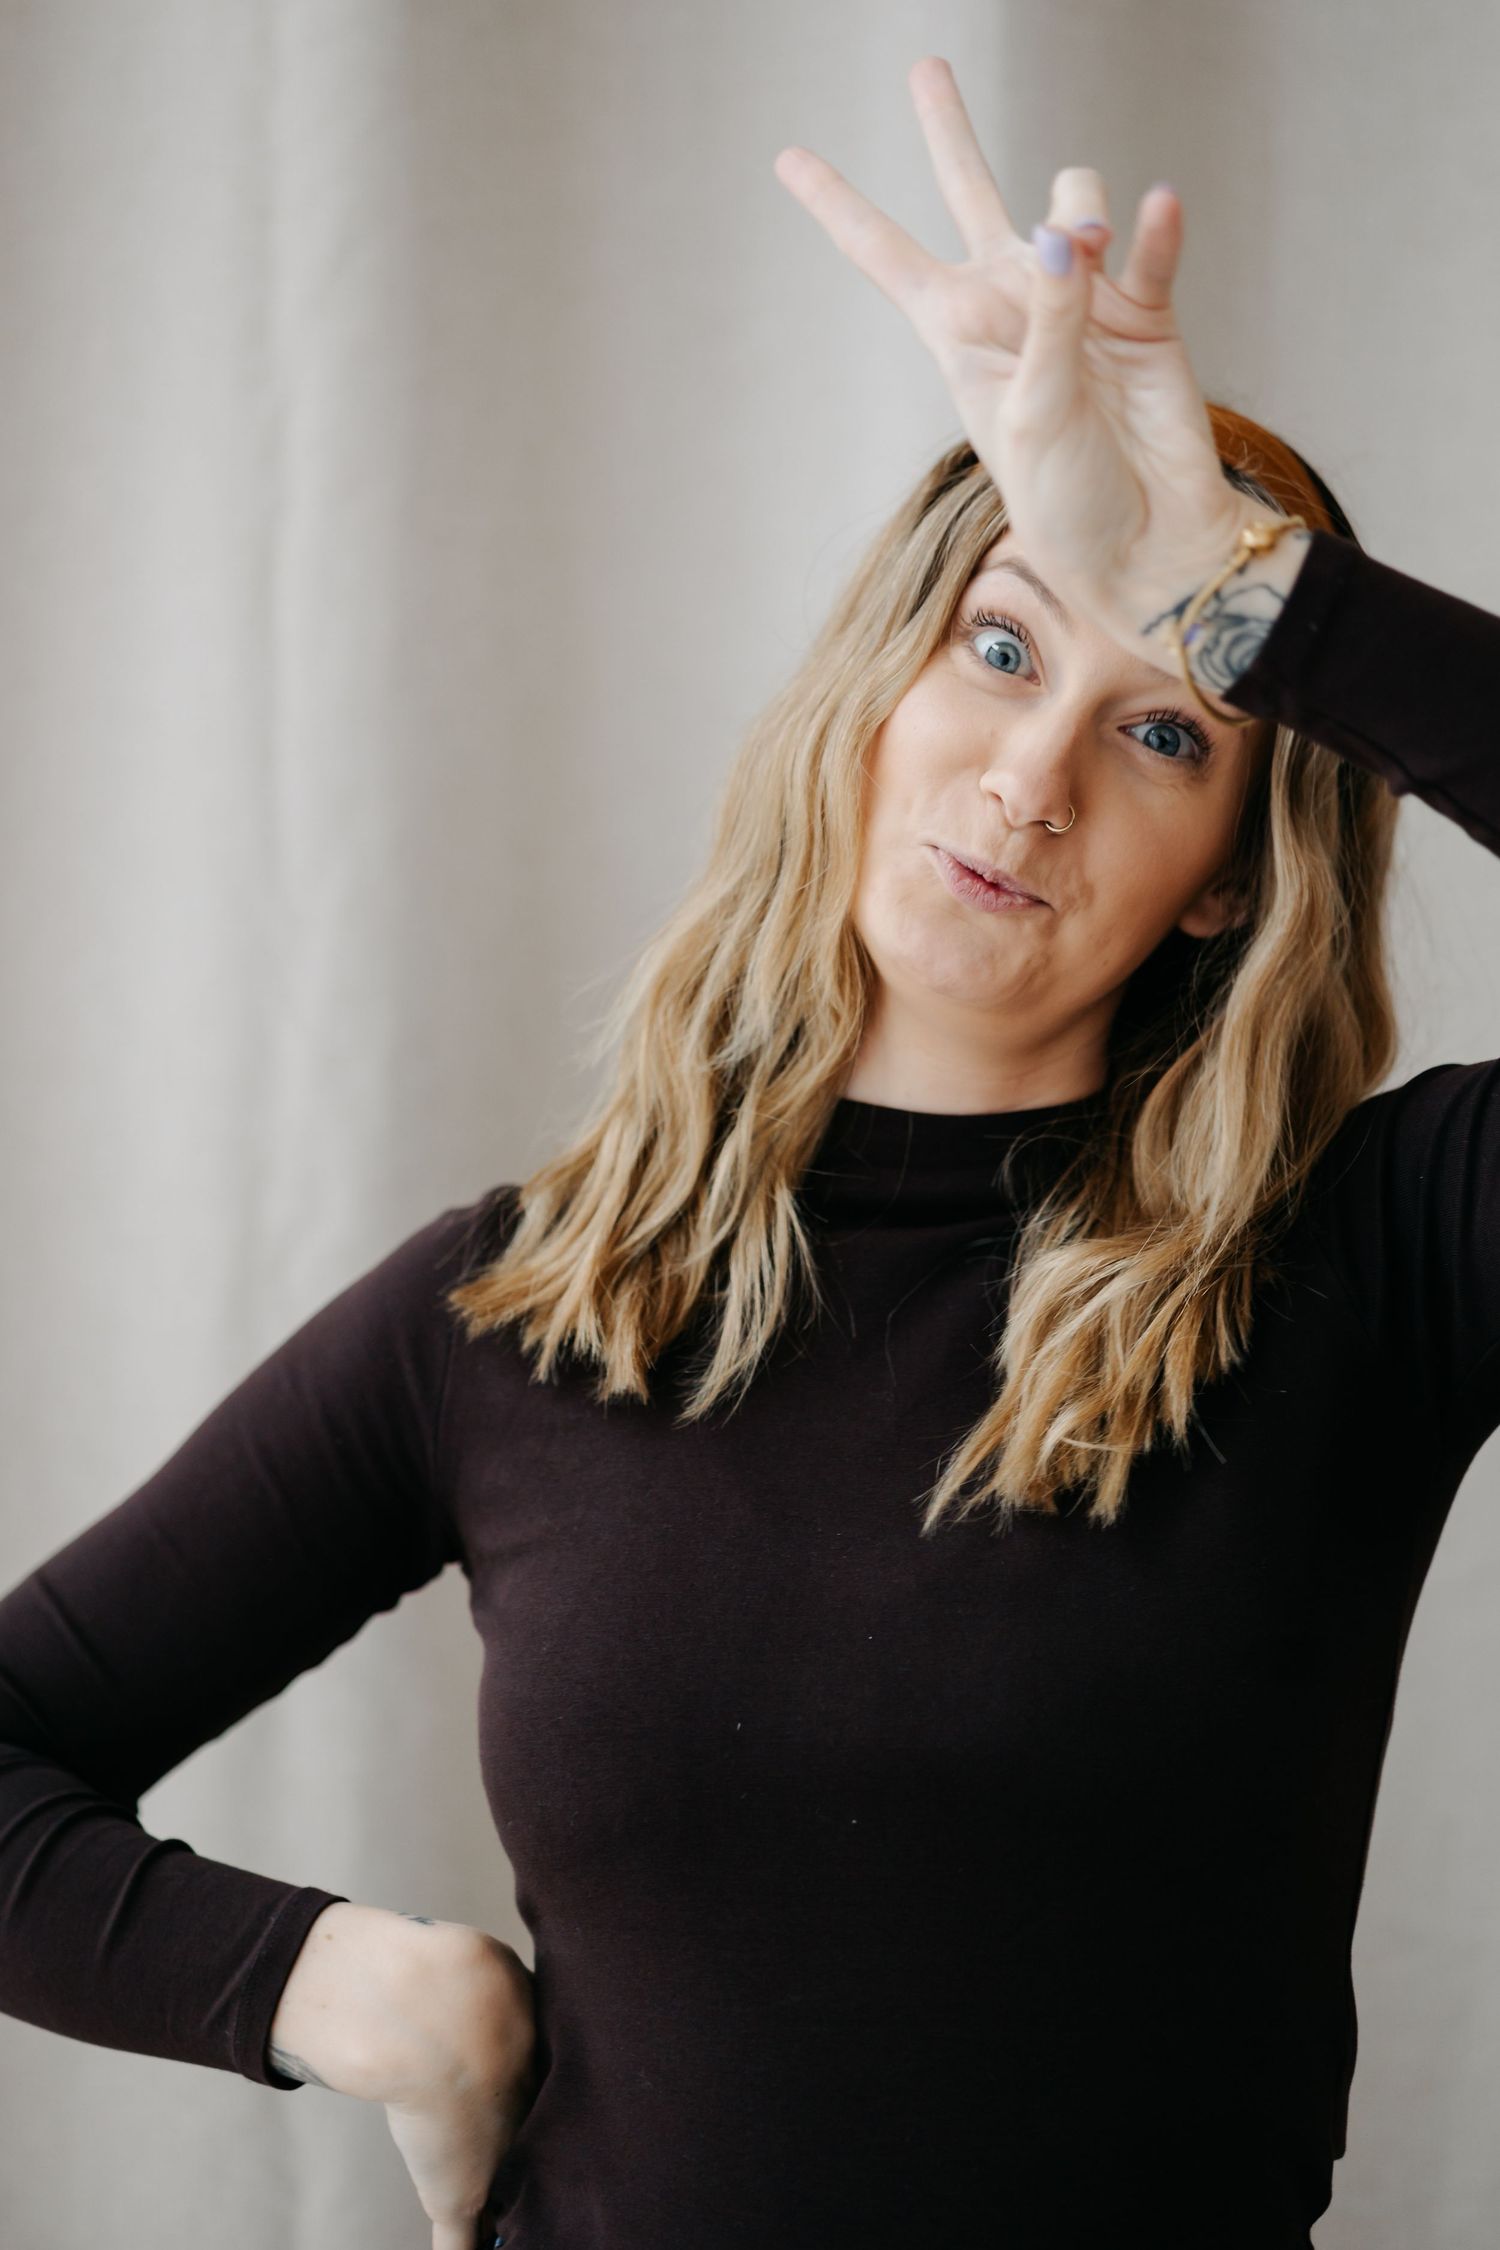
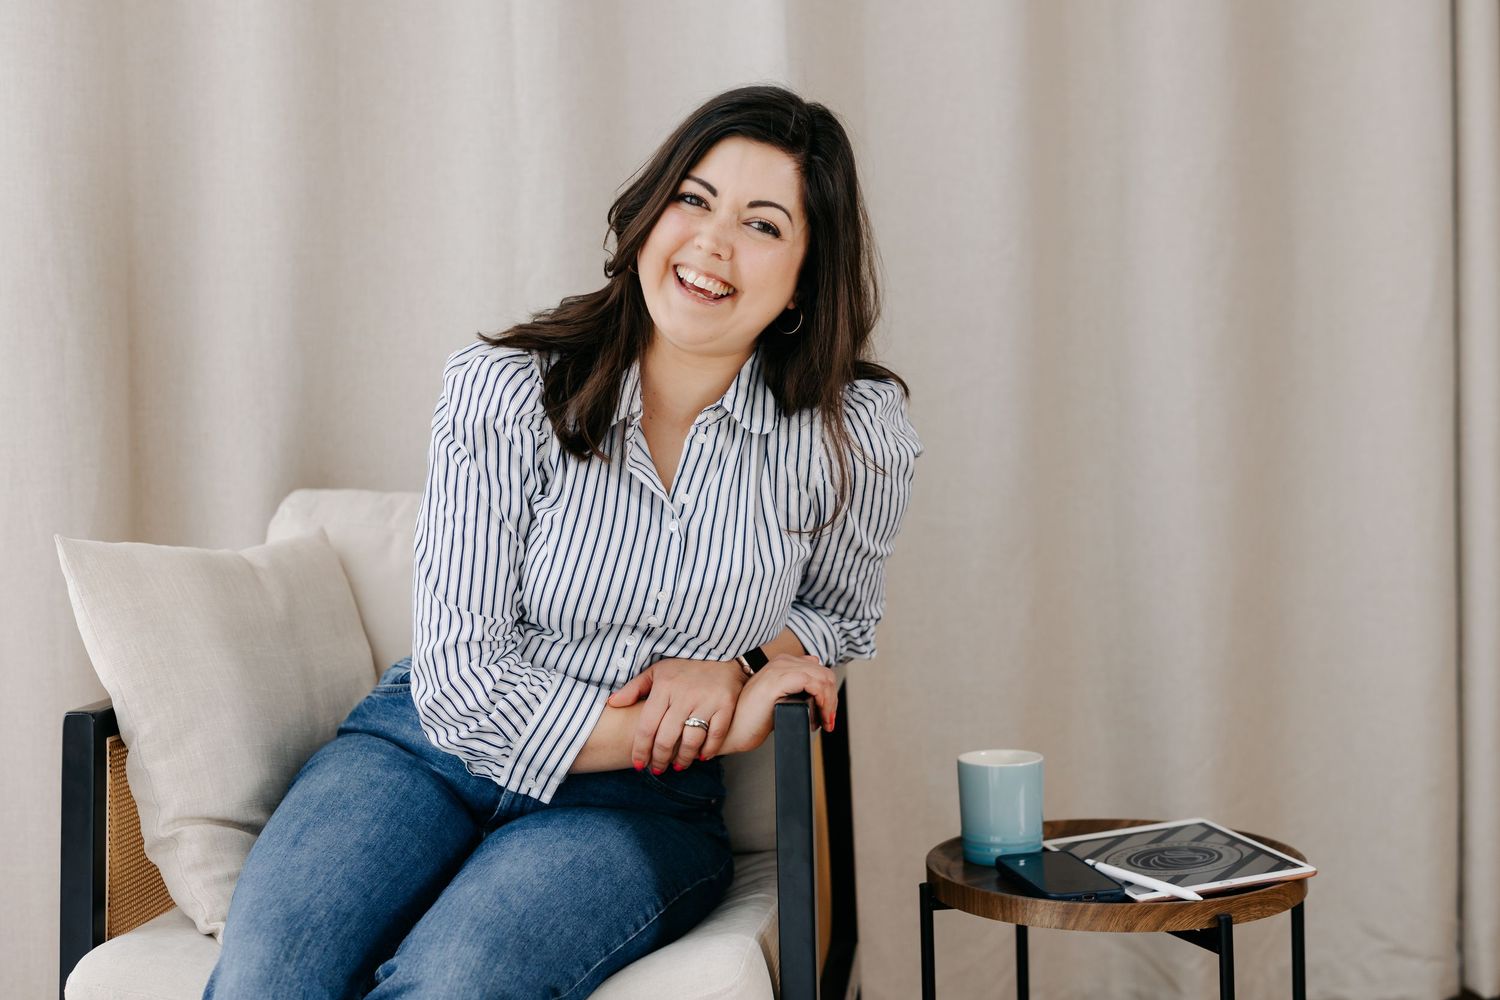
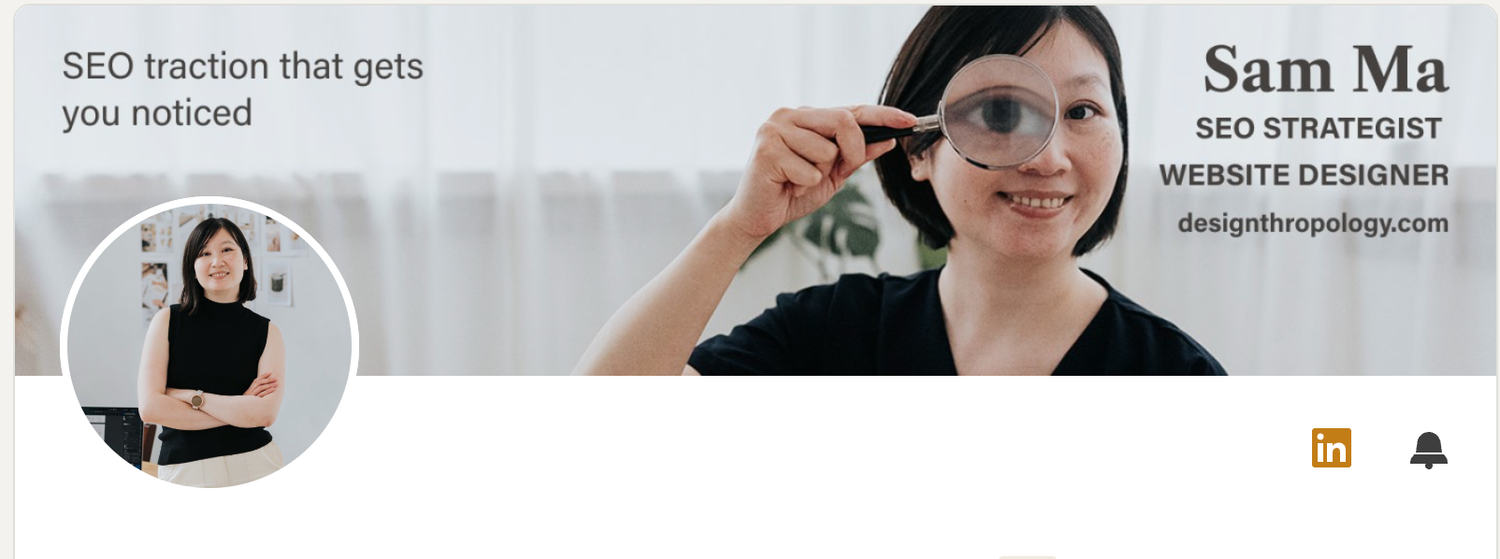
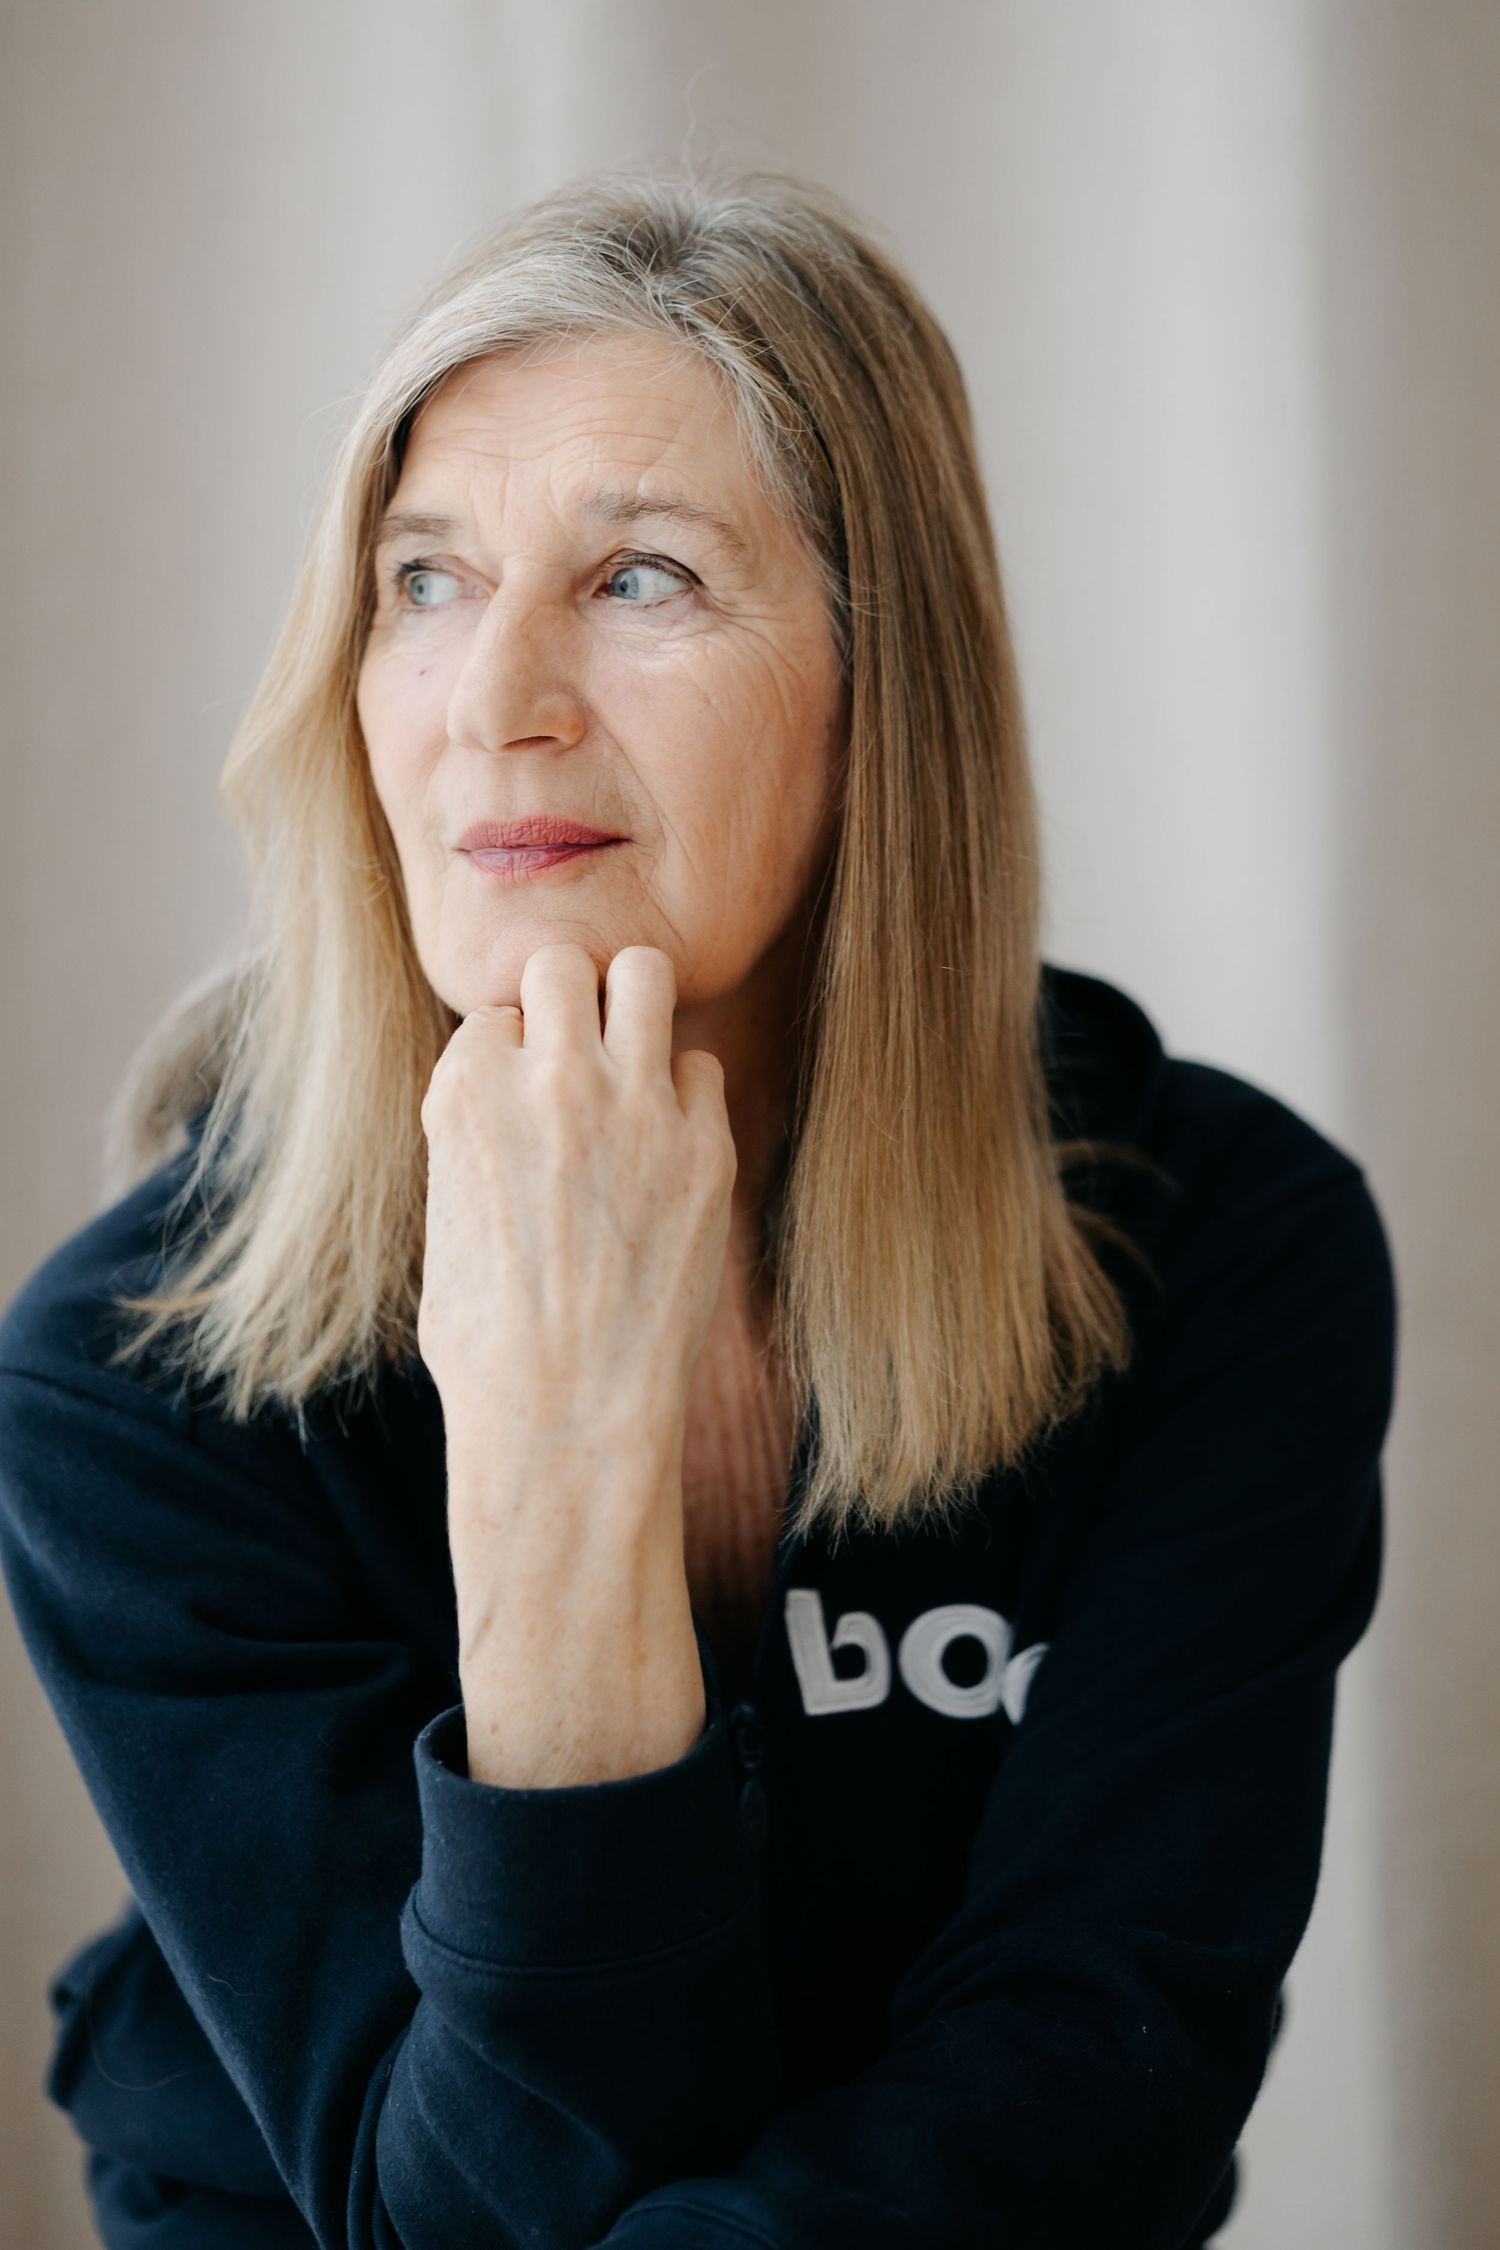
Start by choosing one main photo. This is the one for LinkedIn, your email signature and anywhere your face appears small. Pick the shot where you look most like yourself on a good day, looking at the camera, and use it everywhere your name appears. Seeing the same face in every place is how people come to recognise you.
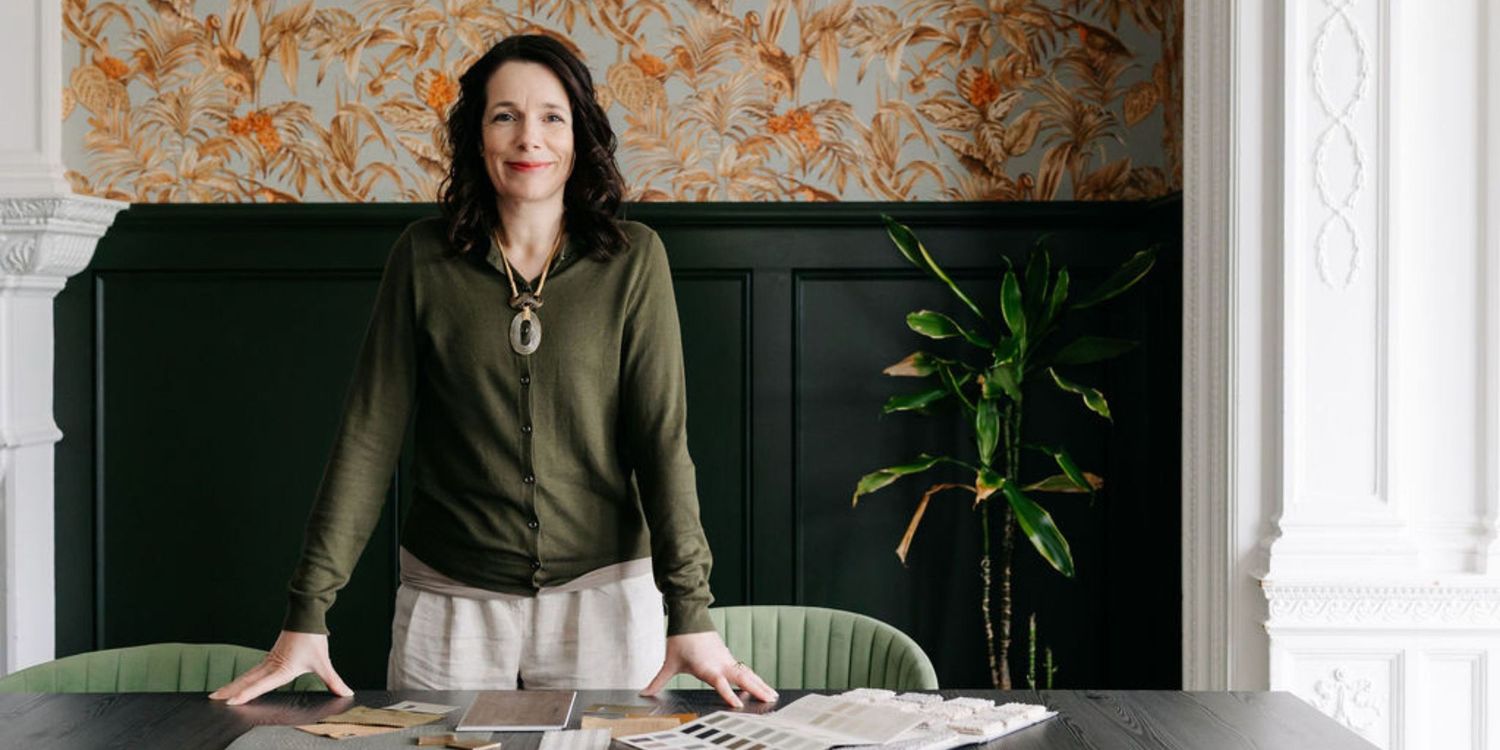
Then choose a supporting cast. The warm, mid-laugh one suits your about page. The polished one is for speaker bios and press. The wider one, with space beside you, becomes a website banner with your headline over it.
A quick test for the main photo is to shrink it to the size of a thumbnail. If you can still read your expression, it's the one.
3. Crop for where it's going
LinkedIn shows you as a circle. Your website banner is a wide rectangle. An event programme might want a square.
For a small circle, crop tighter than feels polite. Your face should fill most of the frame, with your eyes about a third of the way down. A full head-and-shoulders shot that looks elegant at full size becomes a dot with hair on a phone.
For a banner, do the opposite. Choose a shot with empty space on one side and put your words in it.
And always crop from the original file. Cropping a screenshot of a crop is how photos end up looking as if they were faxed.

4. Tell people you've got them
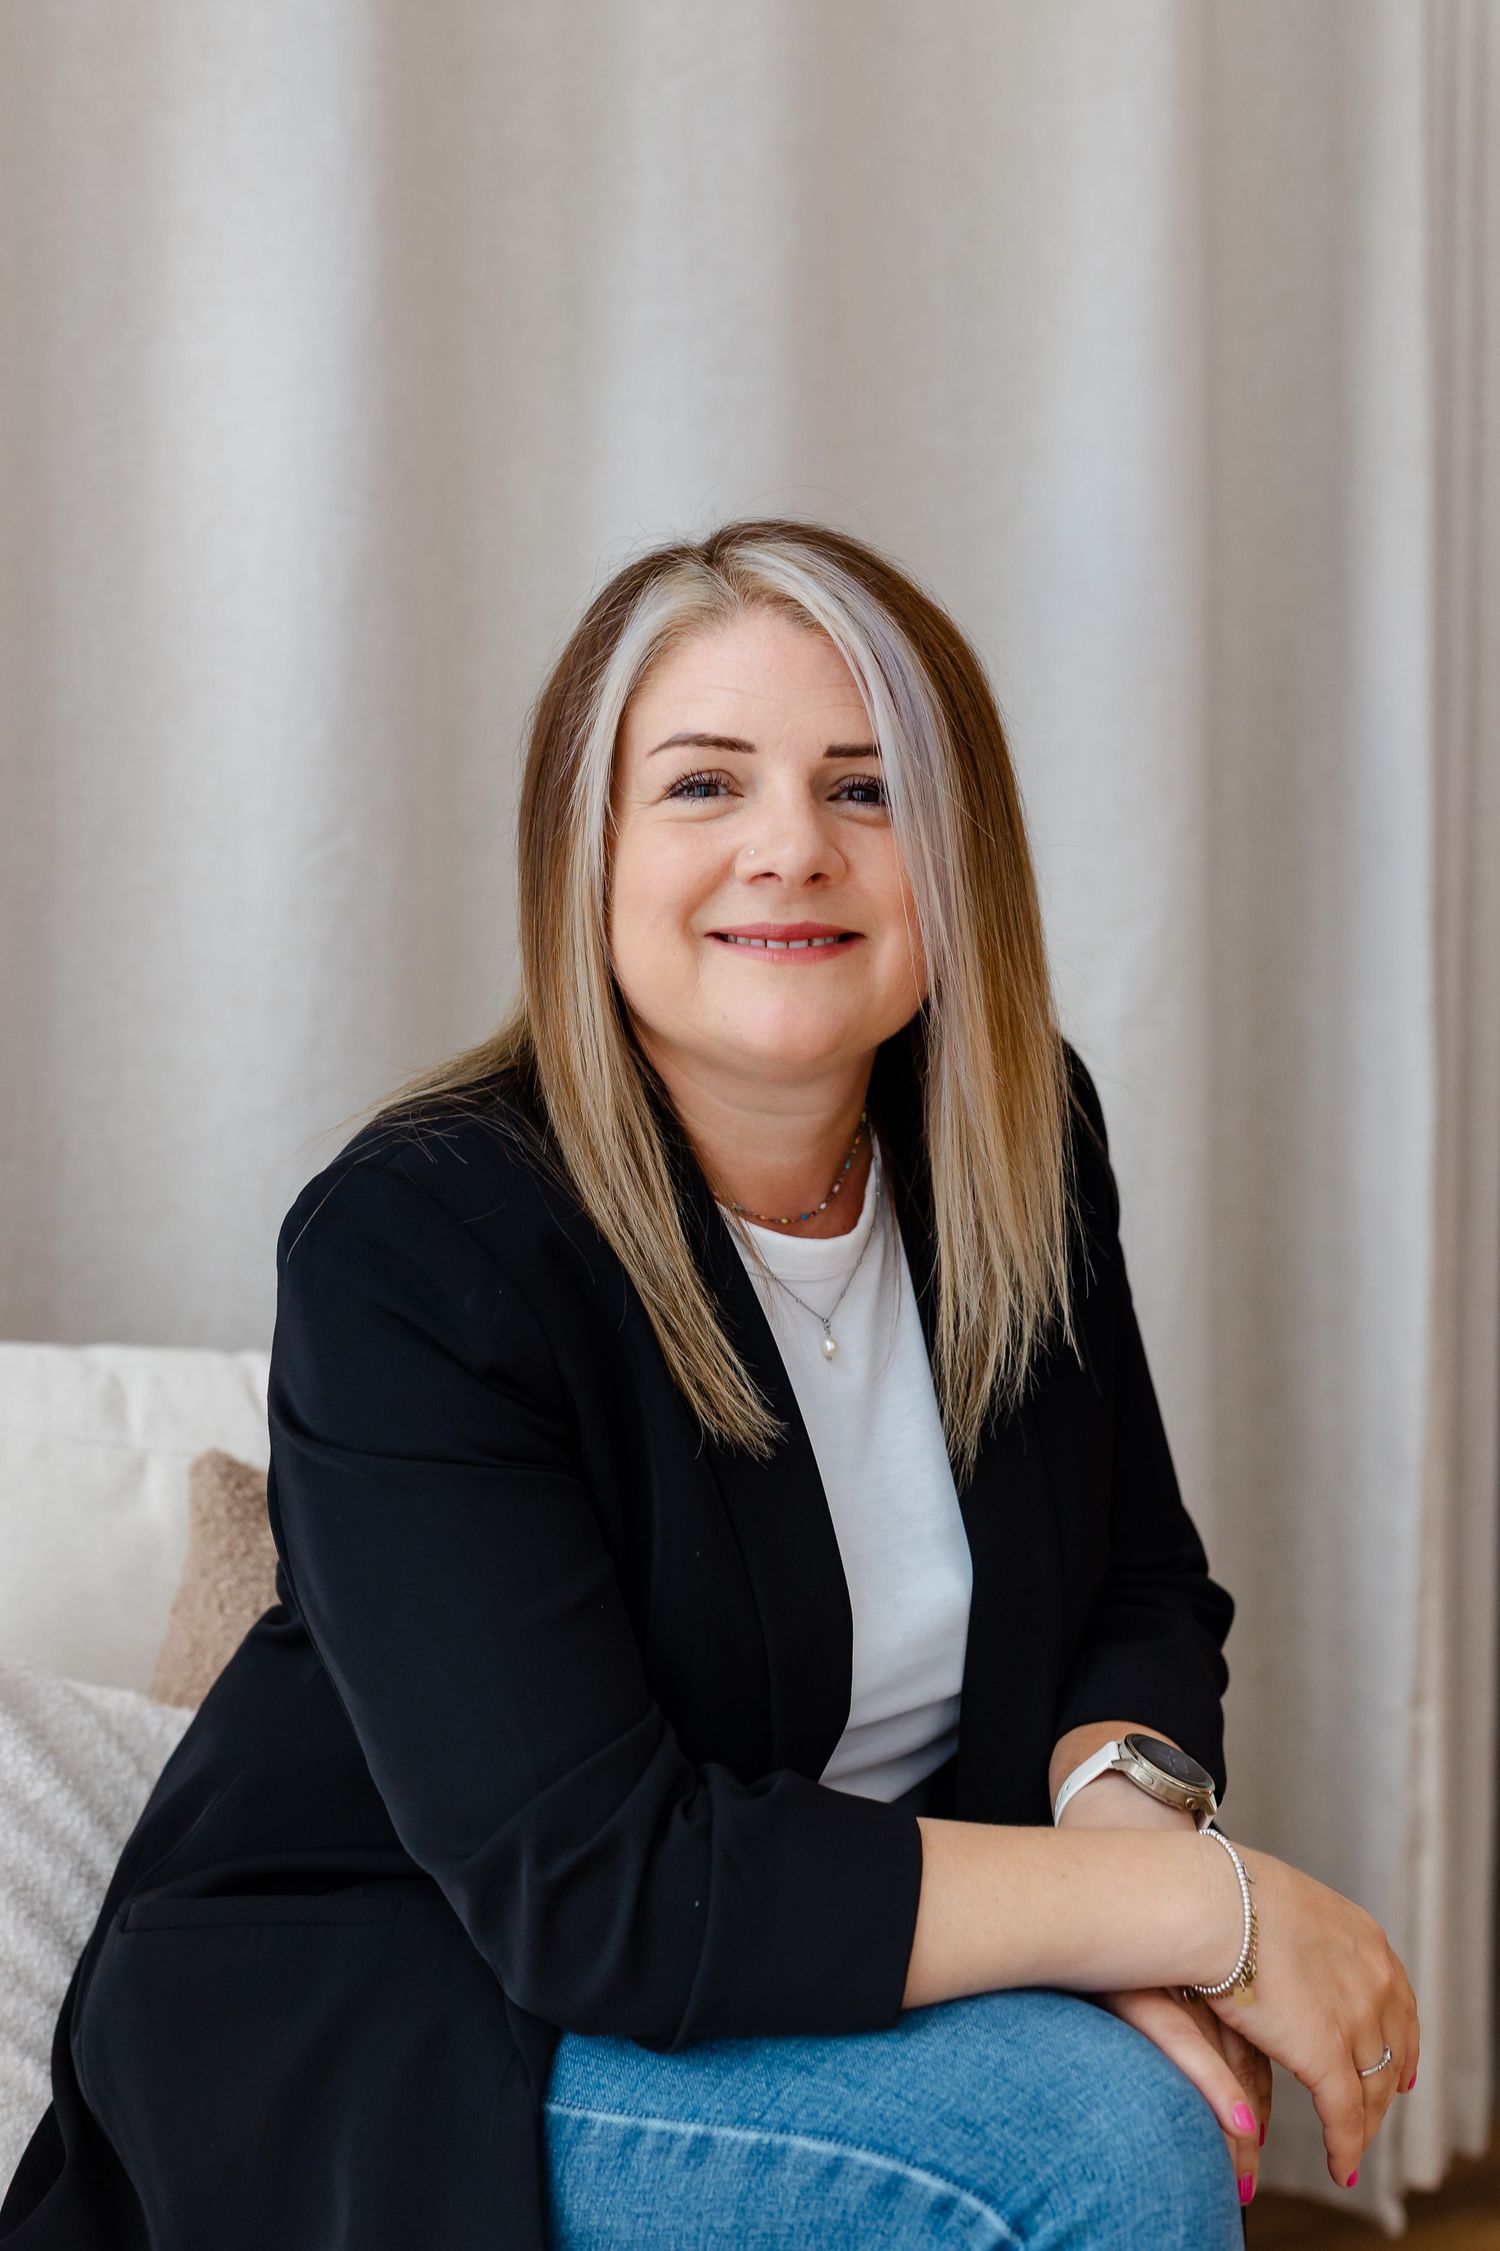
A new headshot is one of the few business updates people enjoy seeing, so make use of it. Post it on LinkedIn with a line about what you're working on, or what has changed in your business since the last photo. It gives people a reason to say hello, and it puts you back in front of everyone who had quietly forgotten what you do.
If that feels like too much fuss, share a behind-the-scenes photo from the session. It does the same job with less "look at me".
Tag your photographer if you'd like to. We love seeing where the photos end up.

5. Keep a few back, and know when to come back
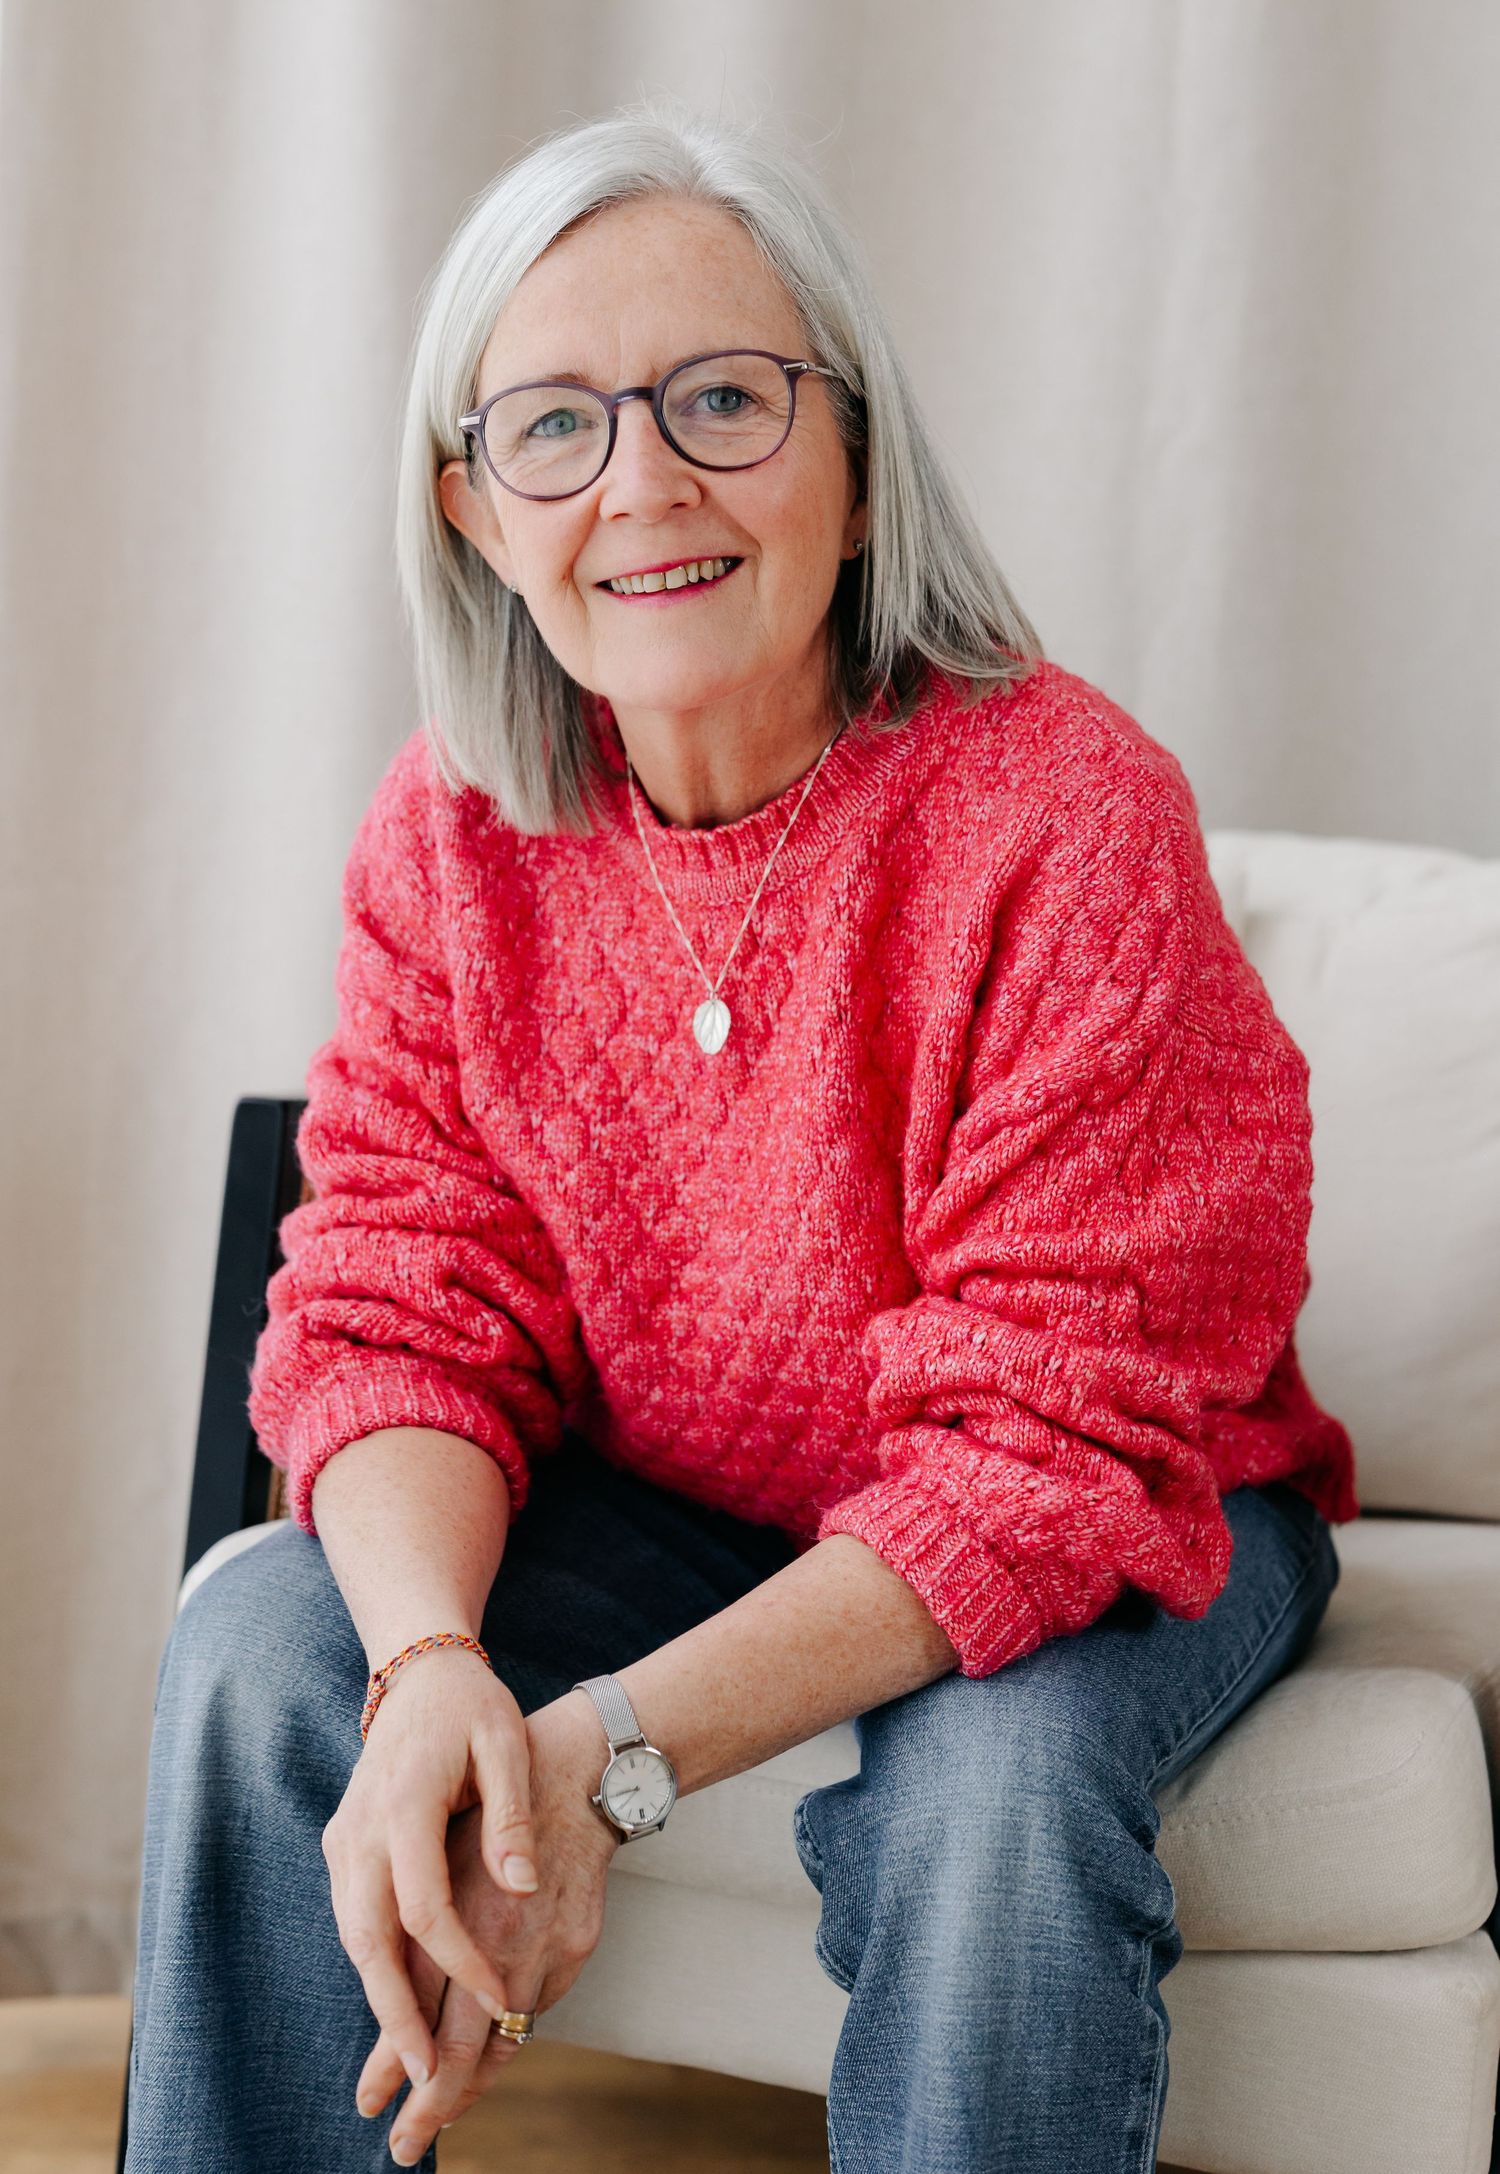
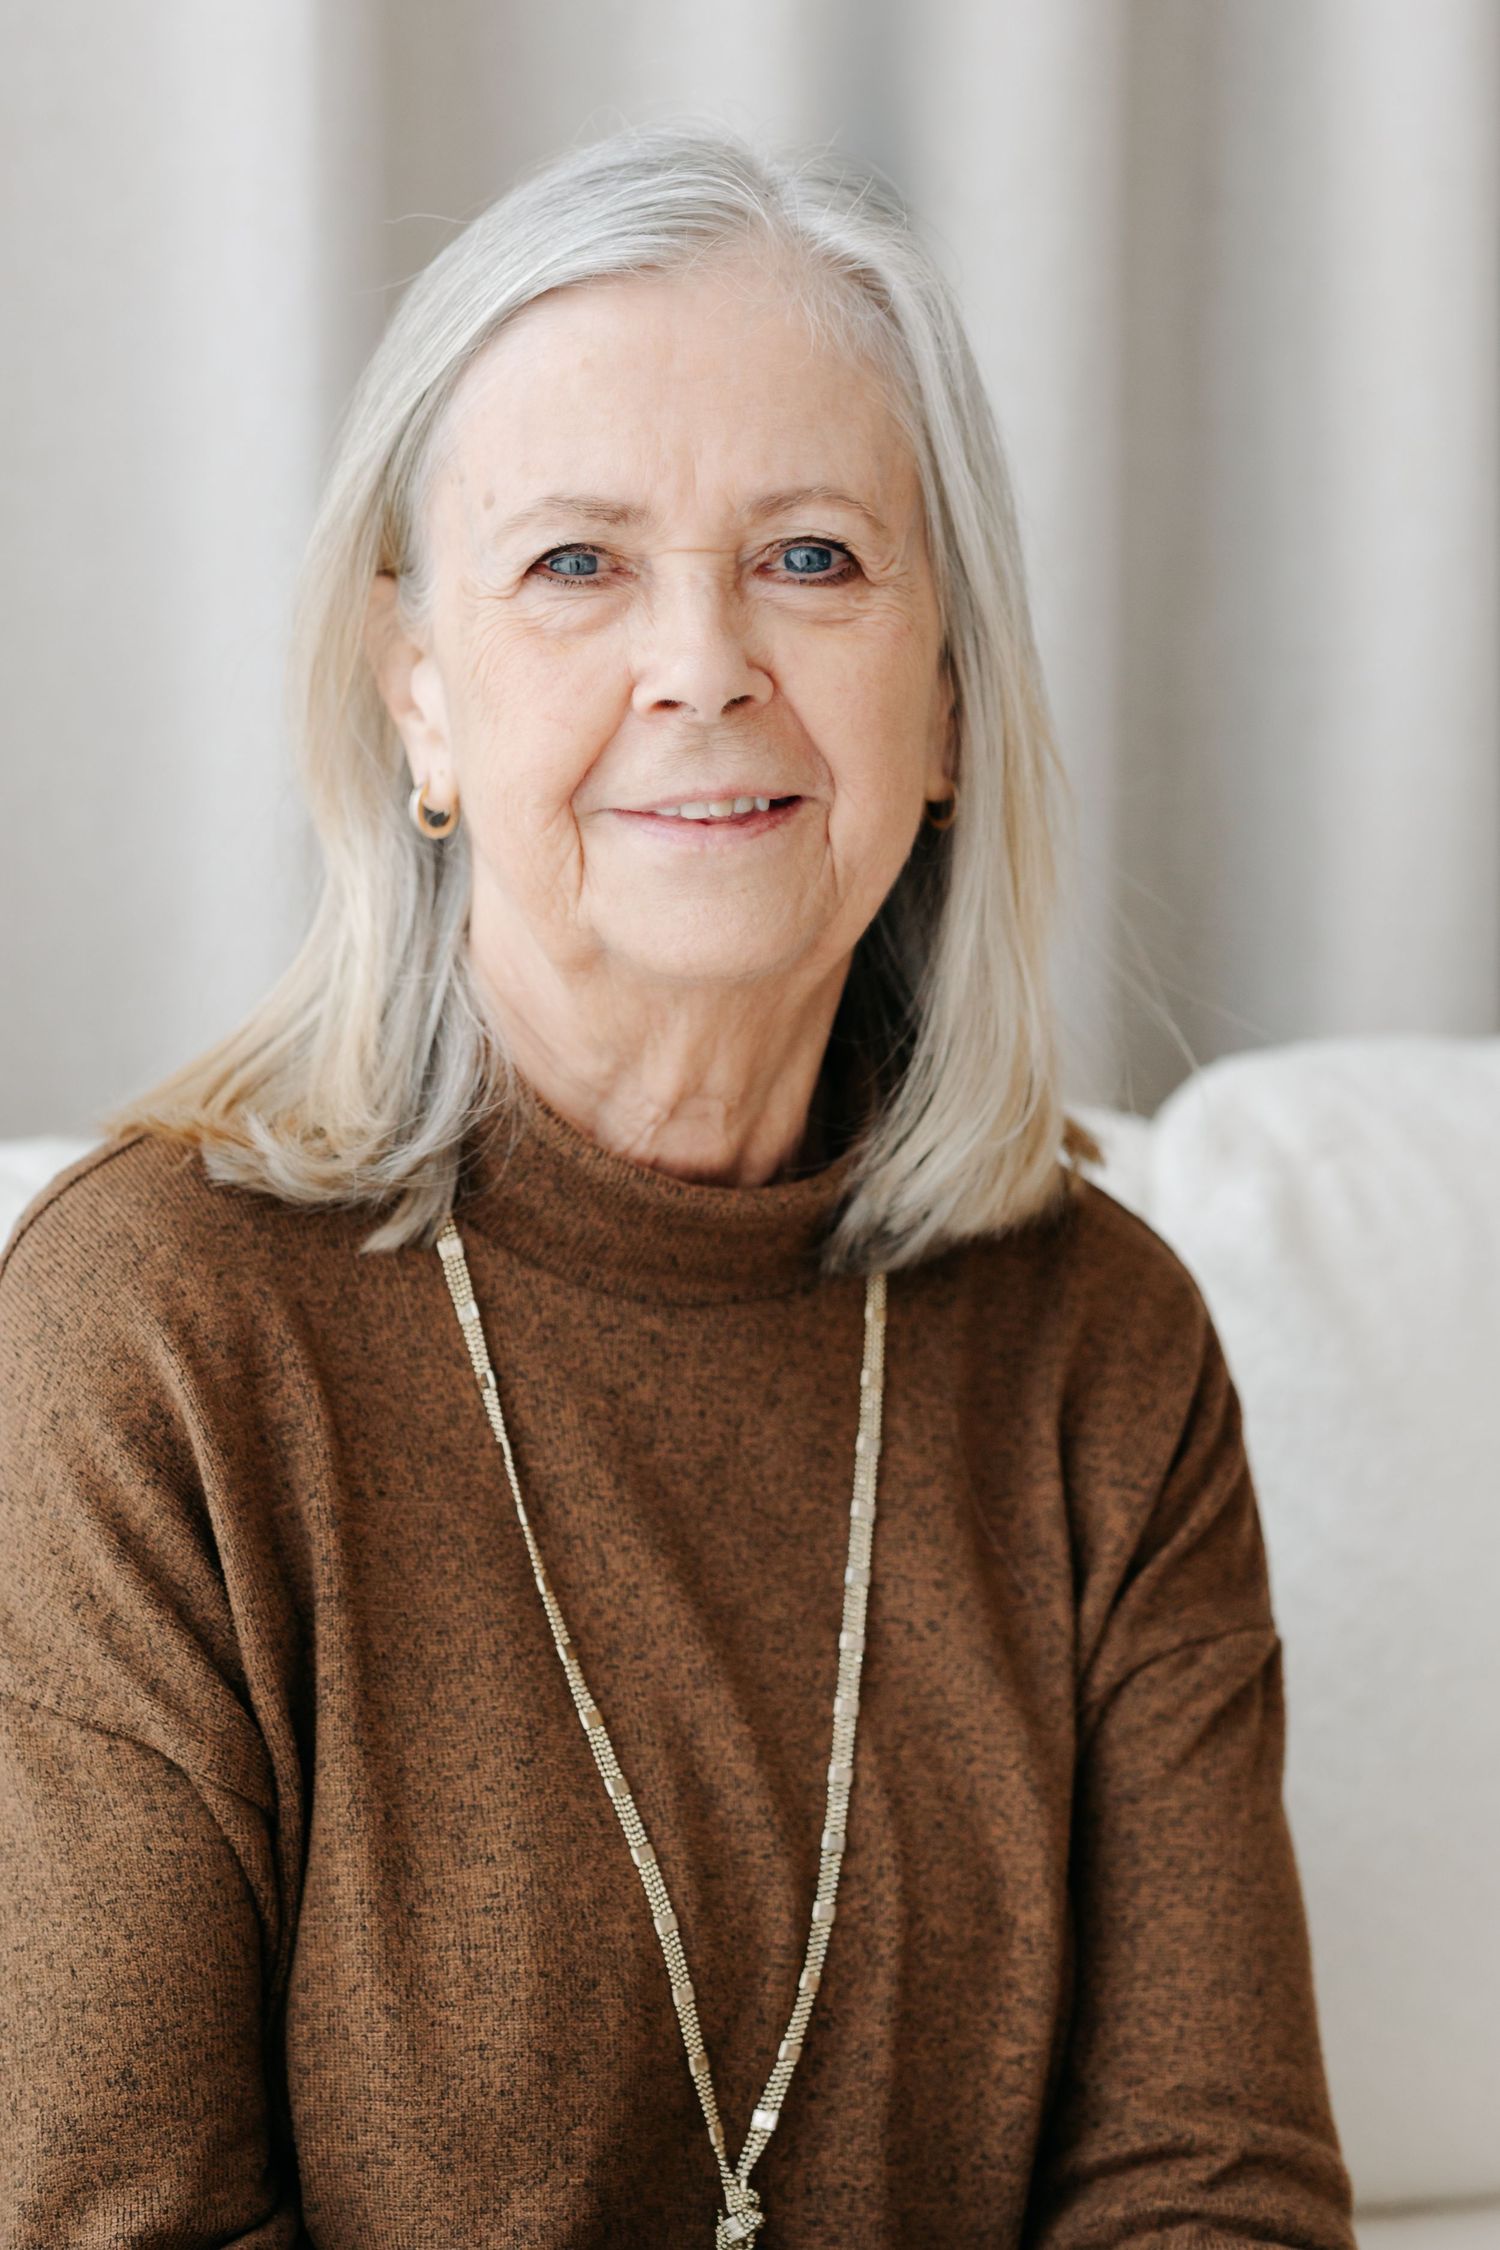
You don't need to use every image in the first week. Hold some in reserve for the moments that turn up through the year. A guest blog. A podcast appearance. An award entry. The day a journalist asks for a photo by five o'clock.
As for how long a headshot lasts, my rule is simple. If someone who has only seen your photo would hesitate when you walk into the room, it's time for a new one. New glasses, a different hair colour, or a big change in what you do or who you do it for are the usual reasons. For most people that works out at every couple of years.